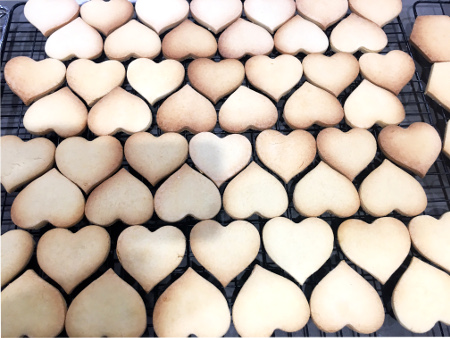
I have been overrun with biscuits, or as they are known; sugar cookies.
There seems to be a surge in iced and decorated cookies recently and I’m a fan!
There is nothing like satisfying your 3pm munchies with a quick bickie and a cup of tea.
Decoration options are endless and so personable that they make perfect thank you gifts for friends and family.
This week I was tasked to supply 1000 corporate logo biscuits for a company launch.
As it normally does, started off quite innocently by sharing some treats with customers, which of course starts a conversation about all things sugar, and then an order of a dozen and then 1000… wait, what?! Next thing I know, I’m furiously baking up a storm!
That escalated quickly!
My quaint little kitchen turned into a production factory in no time, but thankfully my recipe stood strong (and so did my equipment) and they all got away on time. Phew!
A simple biscuit recipe is something that everyone should have. It’s a great back up, easy to whip up and a great treat either plain or iced.
I’ve been tweaking my recipe over the years to one that is not only tasty, but almost fool proof.
For anyone who’s baking urges are strong, or even if you want to give baking a try, you can’t go wrong with this recipe, and I’m happy to share!
Happy baking everyone!
Ingredients:
250g softened unsalted butter
2 eggs
¼ teaspoon of bicarb soda
¼ teaspoon of baking powder
1 teaspoon salt
250g sugar
750g plain flour
2 teaspoon vanilla essence
1/3 teaspoon almond essence
Dash of water if needed.
Method:
1. Cream (whip) together the softened butter and sugar on high speed until light in colour and fluffy.
2. Add essence and egg and continue to whip together until fully combined. You may need to scrape down the sides of the bowl.
3. Combine the baking powder, bicarb, salt and flour together and mix lightly just to combine.
4. Replace your whisk with a dough hook or paddle and add the flour mixture to the butter mixture gradually. Mix till combines and forms your dough. You may need to add a dash of water if the dough is too crumbly.
**tip – if you do not have a dough hook/ paddle you can combine with a wooden spoon or just use your hands.
5. Separate the dough into 2 to make it easier to handle.
6. Roll out the dough to approx. 1cm thickness **tip – roll between two sheets of baking paper
7. Let chill in the fridge for a couple of hours – minimum of 30 mins
8. Cut your shapes and bake on baking paper or Silpat on 160 degrees for approx. 10-12 mins, or until lightly golden in colour. They will continue to cook after being removed from the oven. Let cool and enjoy!